I just realized I never updated the progress on the scenery; I've colored the slope and tidied up the ground area near the junction; I'll have to snap that tonight...
[Place Holder]
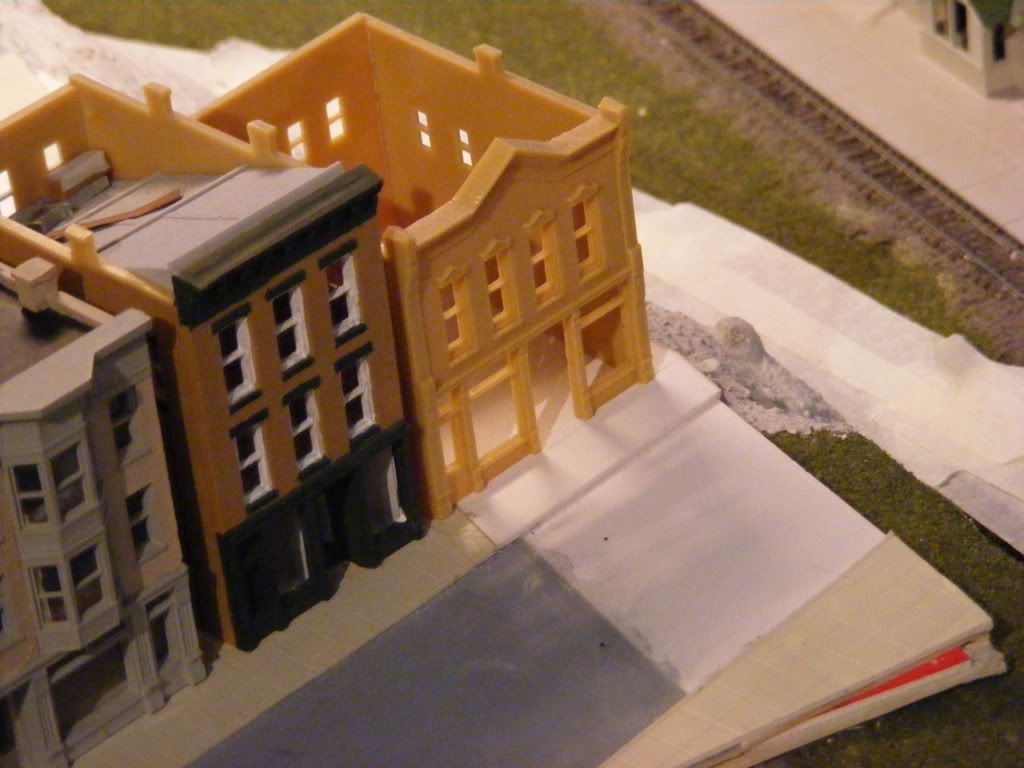
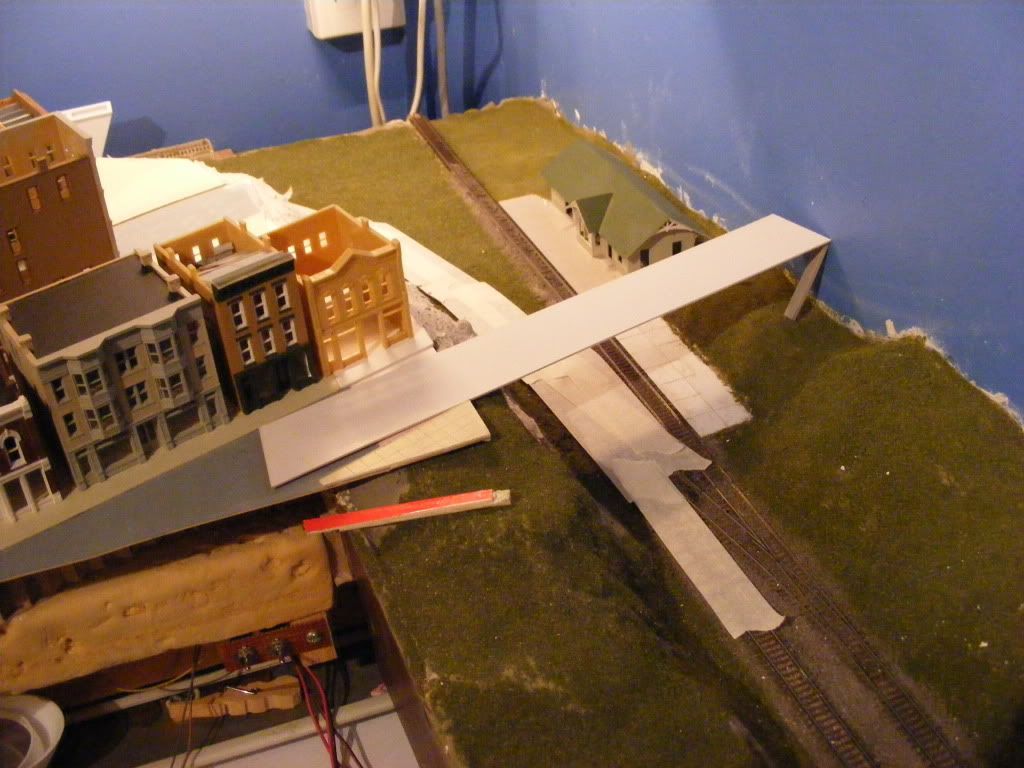
And I've been slowly adding lights to the structures, as I really think it NEEDS to be done when they are in your face. So this morning I finished the wiring for three of the four lighted areas in the DPM "Reeds Books"; part of the second floor Condo, and the access area/stairwell on the right:
There is a bedroom window lighted up that you can only see from the back. I want to experiment with the effect of that light on a night scene, and it (the room) also has some furnishings, so since LEDs never "burn out" (so far) it might end up in a different position one day. I have a picture but can't seem to find it right now; I'll add it later.
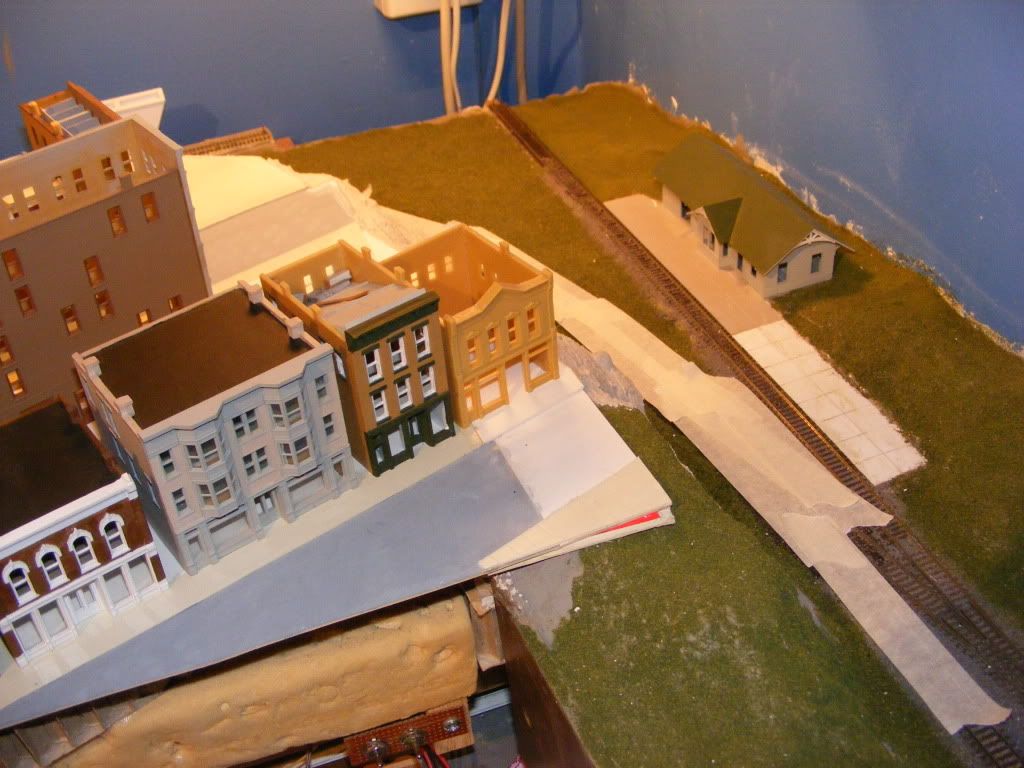
I figure if I move along, instead of random "doing", it will be a better scene. So next up is the tall "Department Store" behind this one, then the cafe to the left (barely visible).
For control I'm considering using DIP switches mounted on the fascia, similar to this:
That way I can alter the scene with a minimum amount of set-up or hassle; simple solder these to a board, and connect the power to a bus on one side, and wire the lights to the board off the switch, with a common return.
Since some are lighted with 12 volt "strip mounted" units, and some are individual LEDs, I'll probably run the power at nine volts, and use resistors in series with the individual LEDs...
More to follow!
The long-running construction, operating, and detailing of an N-Scale model railroad. No claims on originality or skill, and any similarity to the work of others is a compliment to them...
Saturday, February 4, 2012
Monday, January 2, 2012
New Year's Day Progress
A belated Happy New Year from all of us. And as it's New Year's day, and the wife had to work, I decide I'd spend some time working on the layout while it's quiet. After fixing the dryer and looking at the vacumn's lack of suction. You gotta do what you gotta do for domestic tranquility...
The Layout: I 'finished' the corner in the back of Bedford Cut, as it has been far too long with the "rough" look.
Before:
Now:
I've squared off the street in front of the Bakery, with an eventual plan (that I'll get too), as the area just needed a little more 'something'. It also means a space for another structure, which was kind of driving the whole job anyway:
The view of the important parts (track view), but before I'd replaced the structures:
I've also been contemplating something that's missing; a way for my citizens to get to the depot! In my mind is an old wooden bridge, leading to a lane off the layout, and behind the depot. I've seen a few I like in train videos, and the N-Scale primer had a variation of this as well. So it's always in my view so to speak. I'm just not sure if I want to block the view of the depot. But then again, a rickety wooden bridge would be a nice touch...
The concept shot:
I need to build a better mock-up to see how the idea sets in my head, using the board and scrap plastic tubing for the legs perhaps.
More to follow!
Tuesday, December 27, 2011
Commuter Service Returns to Bedford Valley
It's always nice to see train services being expanded and extended, and even better when they happen in our home town. Many years after commuter rail service was withdrawn, and replaced briefly by express bus service, Metra announced the newest route to it's web of Chicago services. Dubbed "West Central Service", Bedford Valley will see two train an hour peak, one an hour off peak and Saturdays, but no Sunday service as of now.
Service was originally provided by the Pennsylvania Railroad, then Penn Central, but limited ridership (due to the deplorable state of the trains perhaps?) lead to the transit commission's endorsement of a request for termination at the start-up of Conrail. Independent service provider MARTA (Metropolitan Area Rapid Transit Association) ran trains, and then replacement service via express buses for a two years, but folded up after rumors of financial misconduct were reported by the Tribune.
Here, Metra's newest equipment makes a trial run through Bedford Junction the day after Christmas:
Hopefully we get to keep the depot, but time will tell whether it gives way to standard-issue bland...
Sunday, November 27, 2011
White (and Yellow) Line Fever
I finally stumped up the courage to take on the road markings; well to start them:
A little selective compression as always, and the RXR in the middle will be done once everything is dry and I make or find a stencil. Since I compressed it, make will probably be the outcome. Still, using paint pens it wasn't hard, so maybe it will go quicker than this part did!
Monday, September 19, 2011
Scenic Progress
Following the installation of the overpass, I needed to patch and add to the scenery in the area of the bridge, so I figured the best place to start was where I left off: shrubberies!
Inside (of the loop) end pier
Other end pier.
Along the road. I plan to add some very fine gravel-looking material for the shoulders, and if I can find a paint pen(or two), add the road markings. Now that the dark and gloom is coming it may be time to start some trees. That could give me an area "practically" finished!
It was also a great time to touch up, and repair some minor nicks and scrapes in the old. I also learned that alcohol on a Q-tip is the perfect tool for removing stray paint form the ends of ties! I had a few spots where I hadn't realized I did this, as well as some new ones, and the Q-tip did the job just fine. Toothbrushes and such can do more harm than good.
And I didn't want to let the station area feel abandoned, so I applied the ground base (paint, earth mix foam, and coarse turf), in preparation for the rest of the scenic details:
Sunday, September 4, 2011
Bridging the Gap
I've been toying with the idea of putting an expressway overpass on one end of the lift-out section to help disguise the transition between levels and break up the "loop effect" of the small layout. Six lanes, plus median, plus breakdown lane, plus the related bulk of a modern expressway structure would, I thought, overwhelm the area I had available. So I went a "smaller" route.
I finally decided that the Rix Products 1930s Overpass (http://www.rixproducts.com/6280103.htm) was the one I wanted; could have gone with the modern version, but I wanted to stage earlier pictures as well as modern ones, and surely there must be an example of this kind of bridge still in use? This is two of the four piers, and will probably leave the overpass itself loose to fit into the piers when the lift-out is in, to keep the total height down.
Some of the changes made - Railings and detail applied; test fit to see how it would look...
More or Less Finished - The far railing is attached, and all that is left is to attach the railings supports and cement the overpass to the pier tops. The posts are cemented into the pier tops, and the bottoms will be loose in the lower pier, to facilitate removal. After that, just need to paint and weather...
Track View - Still need to do something about this view; maybe some dark grey paint or a view blocker?
Traffic View - A collection of vehicles from a number of manufactures shown off.
Super Chief under the Overpass - A diverted Super Chief scoots under the highway as it tries to make up lost time. A fire near Joliet has closed the Santa Fe main line, and "essential trains only" are being diverted or the C&NW and CB&Q. We were lucky enough to catch the Chief
Overhead View - The old highway to the right (at track level), the new overpass, and the dual tracks of the container terminal can be seen here.
Wednesday, August 31, 2011
A Shrubbery!
I moved away from the structures to prep for the bridge on the lift out section, so shifted back to scenery. Some Woodland's Scenics clump foliage.
As part of the "do and leave it" approach, I left it overnight, came back, left it, came back, etc.
After finding a good portable light, and at the request of a friend, I wanted to try a video, so I grabbed this quick
Still need a better way to mount the light (temporarily) in the home train room, and probably a kicker in the back for shadow control. But it is a big improvement IMHO
Subscribe to:
Posts (Atom)