Tuesday, October 23, 2012
More progress soon?
Now that I have an iPhone tool for the Blog hopefully I can get more progress, usually small steps, up here...
Friday, March 16, 2012
Design is a Very Fluid Thing
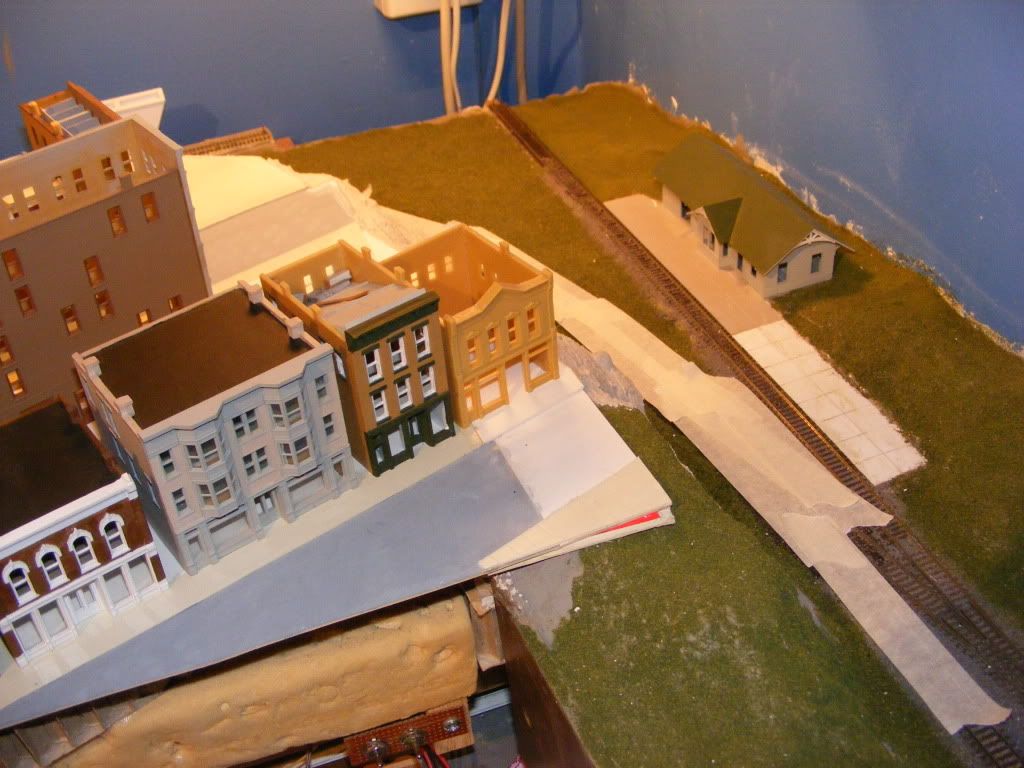
After many months of speculation on how the city would come together, and several weeks of arranging and re-arranging, I pretty much had the "what goes where" part settled down. Not just on paper, but in actually physical buildings on plots where they would be for all eternity, which when scaled down to N Scale, means tonight.
A few weeks ago we started having electrical problems. A few visits from the electrician left a final course of action: rewire all of the electrical sockets in the house. So I had to move some boxes I had stored on top of the storage cabinets in the layout room. And a few of them weren't empty. So, of course, we ALL know what had to be done then: I opened them up to take a look. Inside one of the boxes were two wayward Con Cor (I think) city buildings, or maybe they were Walther's by then, I don't recall, partially built. Along with two fast-food restaurants.
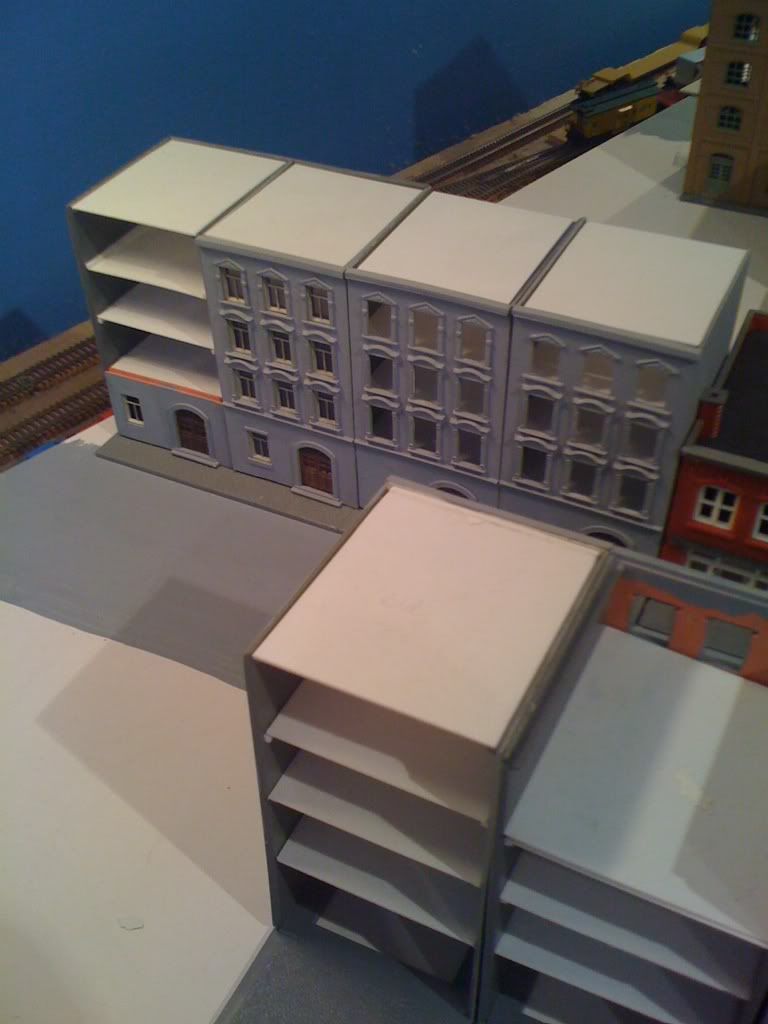
So I decided to do a little shuffling in Townhouse Row. This is what was there:


A few weeks ago we started having electrical problems. A few visits from the electrician left a final course of action: rewire all of the electrical sockets in the house. So I had to move some boxes I had stored on top of the storage cabinets in the layout room. And a few of them weren't empty. So, of course, we ALL know what had to be done then: I opened them up to take a look. Inside one of the boxes were two wayward Con Cor (I think) city buildings, or maybe they were Walther's by then, I don't recall, partially built. Along with two fast-food restaurants.
So I decided to do a little shuffling in Townhouse Row. This is what was there:
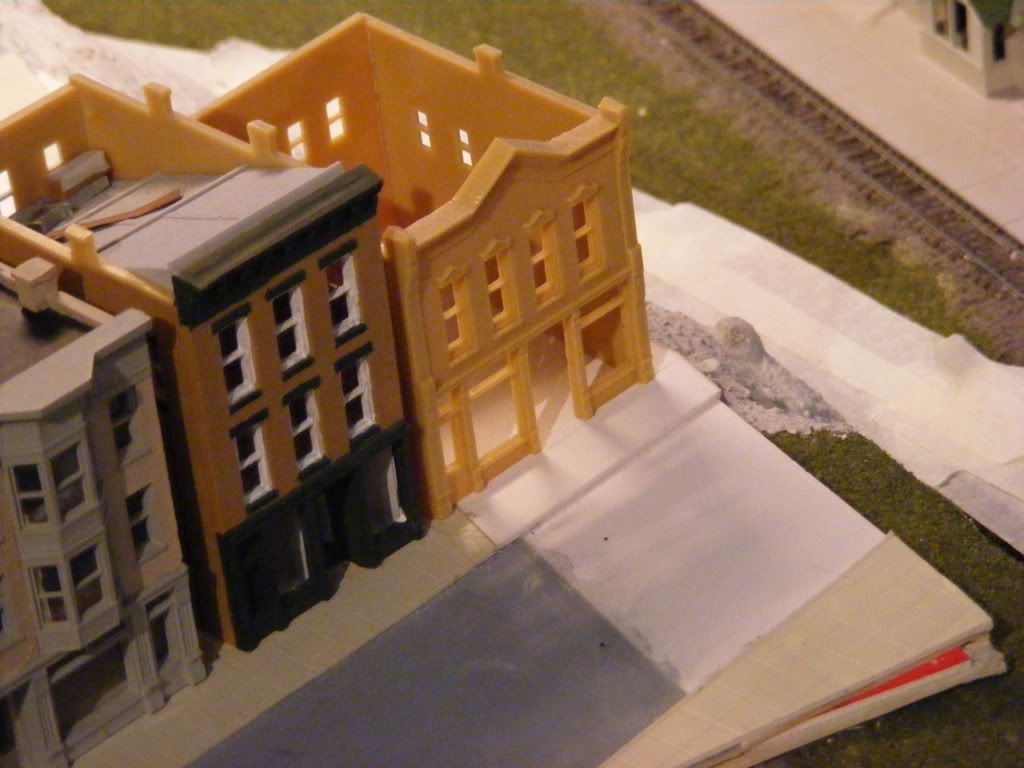
I did think of this configuration first:
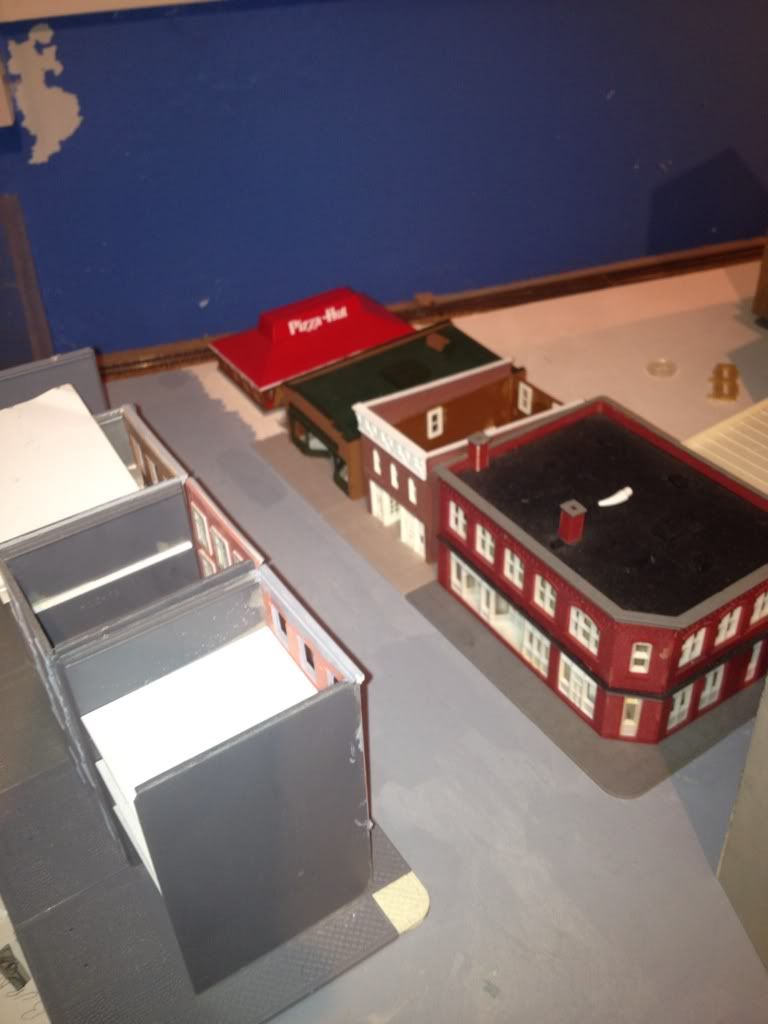
But thought that the Hut didn't quite fit in with the area; plus, there would be no room for the parking lot that is always around them, and I didn't really want that much open space.
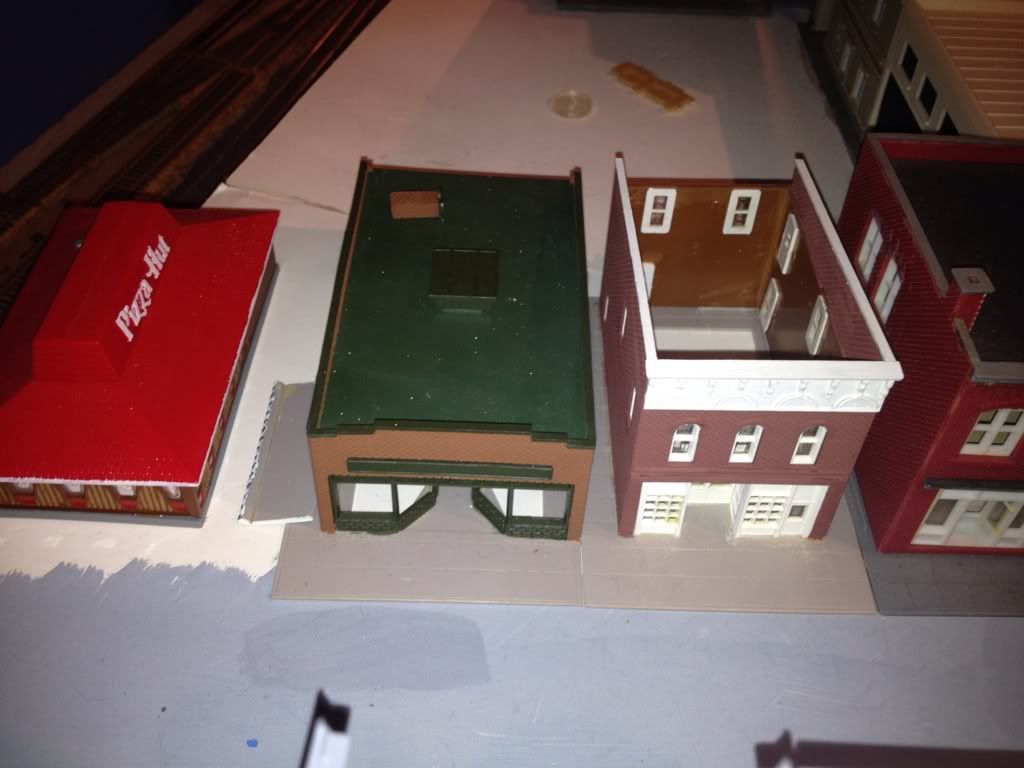
As luck would have it, inside another box was the answer:
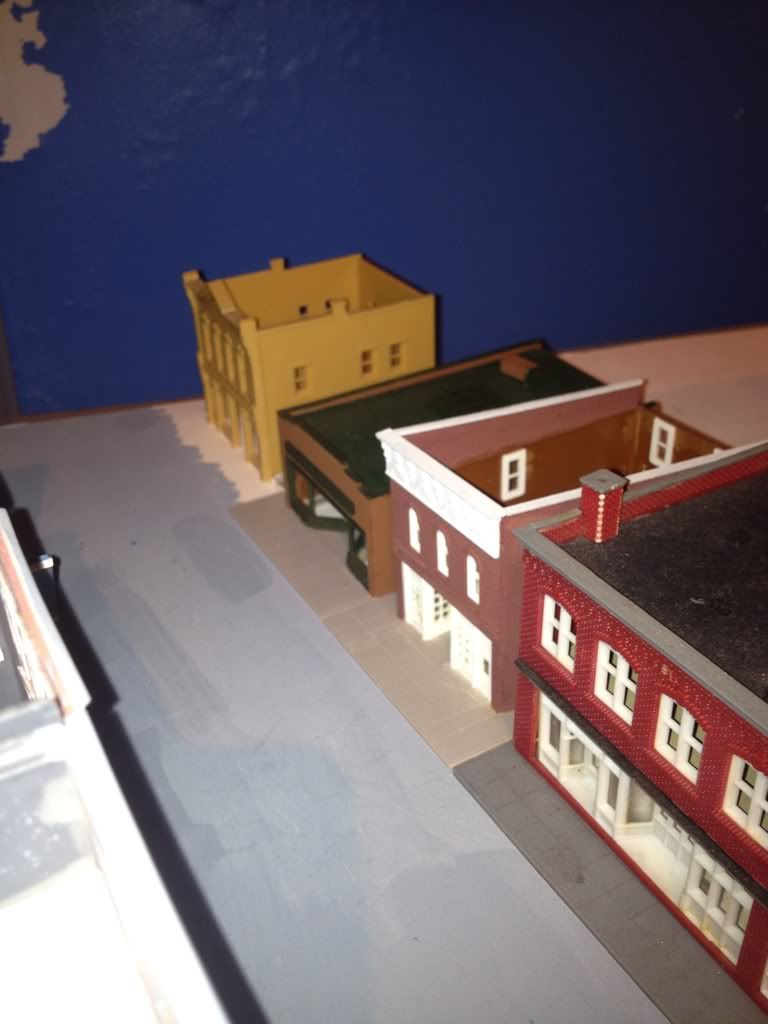
The DPM structure doesn't look quite so out-of-place as the Hut did, and NO way there was going to be a Burger King back there either.
Now I just need to think about re-jigging all of the townhouse plots, as I have quite a few to place and re-place...
Saturday, February 4, 2012
And Then There Were Two...
I just realized I never updated the progress on the scenery; I've colored the slope and tidied up the ground area near the junction; I'll have to snap that tonight...
[Place Holder]
And I've been slowly adding lights to the structures, as I really think it NEEDS to be done when they are in your face. So this morning I finished the wiring for three of the four lighted areas in the DPM "Reeds Books"; part of the second floor Condo, and the access area/stairwell on the right:

There is a bedroom window lighted up that you can only see from the back. I want to experiment with the effect of that light on a night scene, and it (the room) also has some furnishings, so since LEDs never "burn out" (so far) it might end up in a different position one day. I have a picture but can't seem to find it right now; I'll add it later.
I figure if I move along, instead of random "doing", it will be a better scene. So next up is the tall "Department Store" behind this one, then the cafe to the left (barely visible).
For control I'm considering using DIP switches mounted on the fascia, similar to this:

That way I can alter the scene with a minimum amount of set-up or hassle; simple solder these to a board, and connect the power to a bus on one side, and wire the lights to the board off the switch, with a common return.
Since some are lighted with 12 volt "strip mounted" units, and some are individual LEDs, I'll probably run the power at nine volts, and use resistors in series with the individual LEDs...
More to follow!
Monday, January 2, 2012
New Year's Day Progress
A belated Happy New Year from all of us. And as it's New Year's day, and the wife had to work, I decide I'd spend some time working on the layout while it's quiet. After fixing the dryer and looking at the vacumn's lack of suction. You gotta do what you gotta do for domestic tranquility...
The Layout: I 'finished' the corner in the back of Bedford Cut, as it has been far too long with the "rough" look.
Before:

Now:

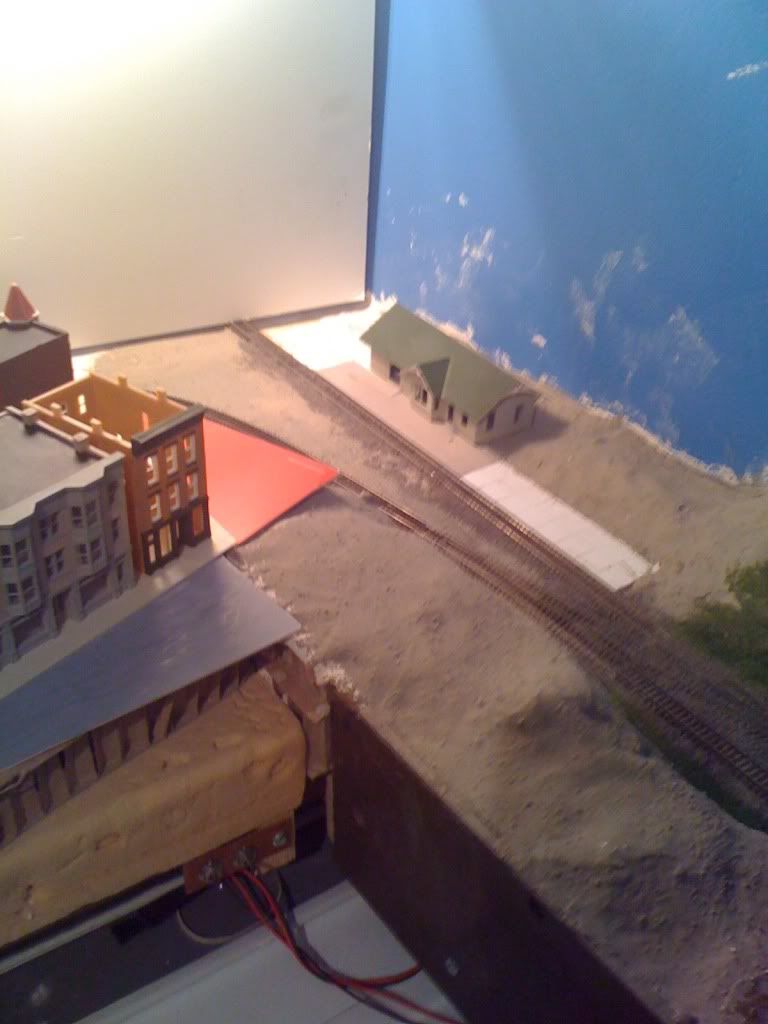
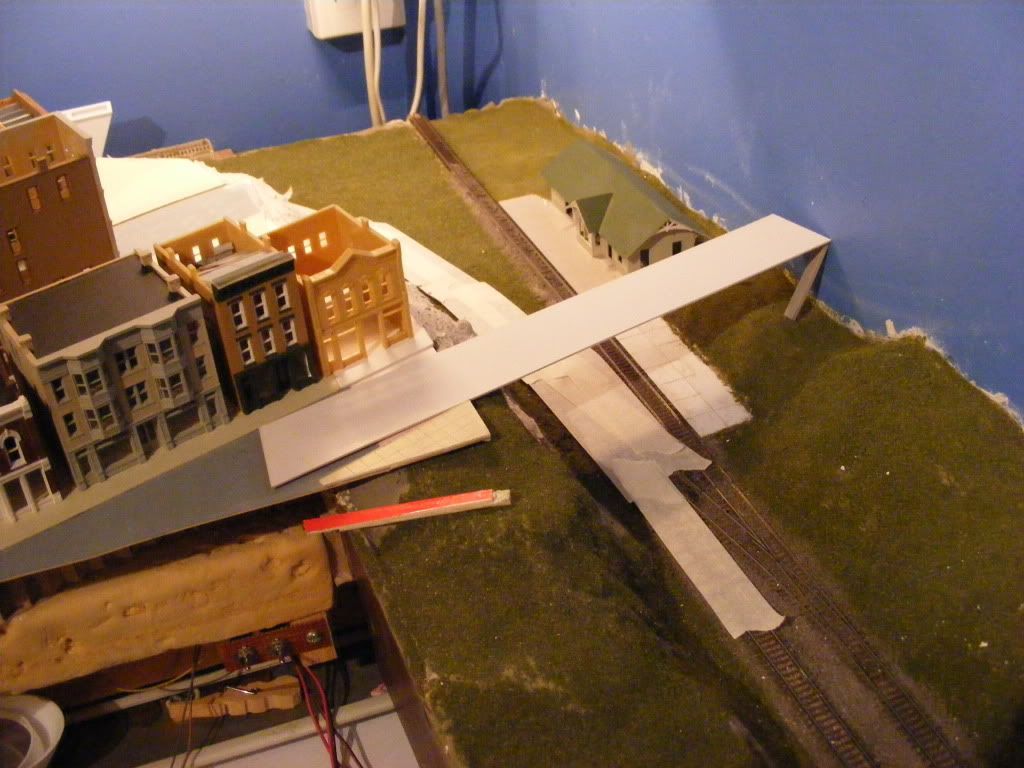
I've squared off the street in front of the Bakery, with an eventual plan (that I'll get too), as the area just needed a little more 'something'. It also means a space for another structure, which was kind of driving the whole job anyway:

The view of the important parts (track view), but before I'd replaced the structures:

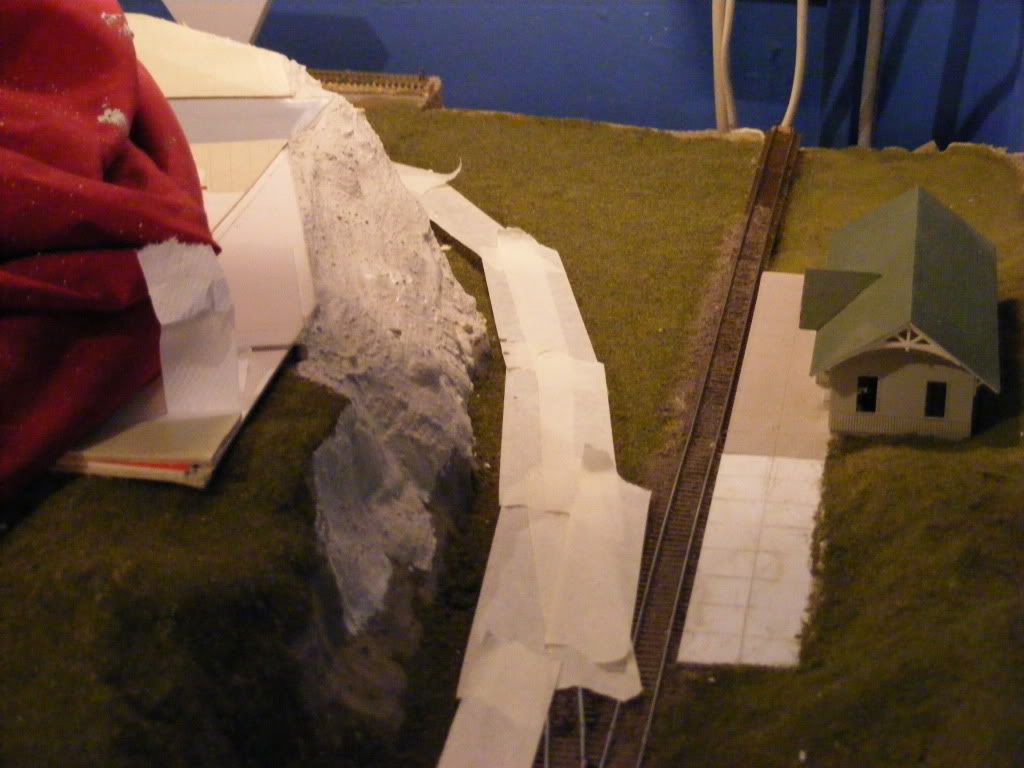
I've also been contemplating something that's missing; a way for my citizens to get to the depot! In my mind is an old wooden bridge, leading to a lane off the layout, and behind the depot. I've seen a few I like in train videos, and the N-Scale primer had a variation of this as well. So it's always in my view so to speak. I'm just not sure if I want to block the view of the depot. But then again, a rickety wooden bridge would be a nice touch...
The concept shot:

I need to build a better mock-up to see how the idea sets in my head, using the board and scrap plastic tubing for the legs perhaps.
More to follow!
The Layout: I 'finished' the corner in the back of Bedford Cut, as it has been far too long with the "rough" look.
Before:
Now:
I've squared off the street in front of the Bakery, with an eventual plan (that I'll get too), as the area just needed a little more 'something'. It also means a space for another structure, which was kind of driving the whole job anyway:
The view of the important parts (track view), but before I'd replaced the structures:
I've also been contemplating something that's missing; a way for my citizens to get to the depot! In my mind is an old wooden bridge, leading to a lane off the layout, and behind the depot. I've seen a few I like in train videos, and the N-Scale primer had a variation of this as well. So it's always in my view so to speak. I'm just not sure if I want to block the view of the depot. But then again, a rickety wooden bridge would be a nice touch...
The concept shot:
I need to build a better mock-up to see how the idea sets in my head, using the board and scrap plastic tubing for the legs perhaps.
More to follow!
Tuesday, December 27, 2011
Commuter Service Returns to Bedford Valley
It's always nice to see train services being expanded and extended, and even better when they happen in our home town. Many years after commuter rail service was withdrawn, and replaced briefly by express bus service, Metra announced the newest route to it's web of Chicago services. Dubbed "West Central Service", Bedford Valley will see two train an hour peak, one an hour off peak and Saturdays, but no Sunday service as of now.
Service was originally provided by the Pennsylvania Railroad, then Penn Central, but limited ridership (due to the deplorable state of the trains perhaps?) lead to the transit commission's endorsement of a request for termination at the start-up of Conrail. Independent service provider MARTA (Metropolitan Area Rapid Transit Association) ran trains, and then replacement service via express buses for a two years, but folded up after rumors of financial misconduct were reported by the Tribune.
Here, Metra's newest equipment makes a trial run through Bedford Junction the day after Christmas:
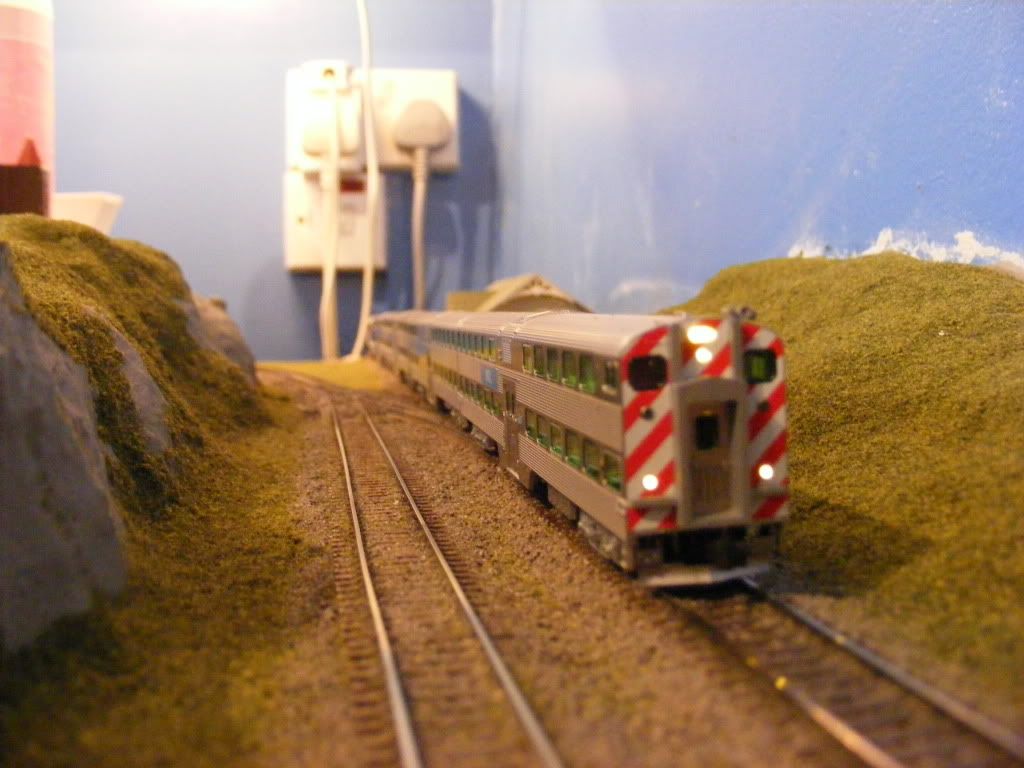
Hopefully we get to keep the depot, but time will tell whether it gives way to standard-issue bland...
Sunday, November 27, 2011
White (and Yellow) Line Fever
I finally stumped up the courage to take on the road markings; well to start them:

A little selective compression as always, and the RXR in the middle will be done once everything is dry and I make or find a stencil. Since I compressed it, make will probably be the outcome. Still, using paint pens it wasn't hard, so maybe it will go quicker than this part did!
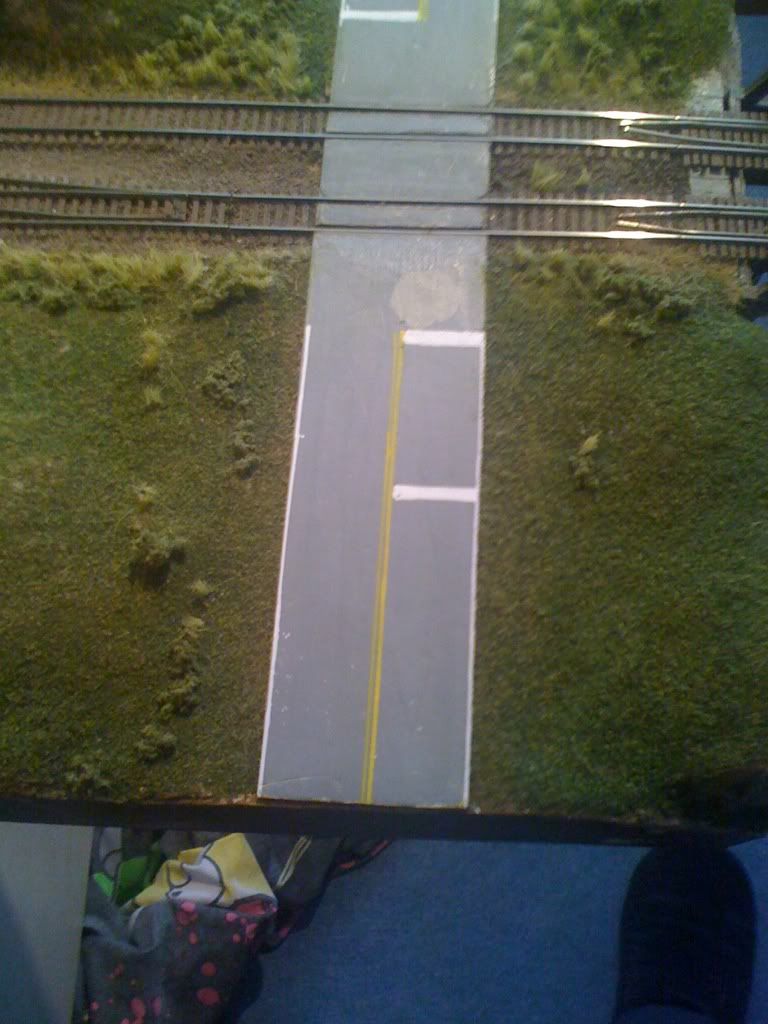
A little selective compression as always, and the RXR in the middle will be done once everything is dry and I make or find a stencil. Since I compressed it, make will probably be the outcome. Still, using paint pens it wasn't hard, so maybe it will go quicker than this part did!
Monday, September 19, 2011
Scenic Progress
Following the installation of the overpass, I needed to patch and add to the scenery in the area of the bridge, so I figured the best place to start was where I left off: shrubberies!
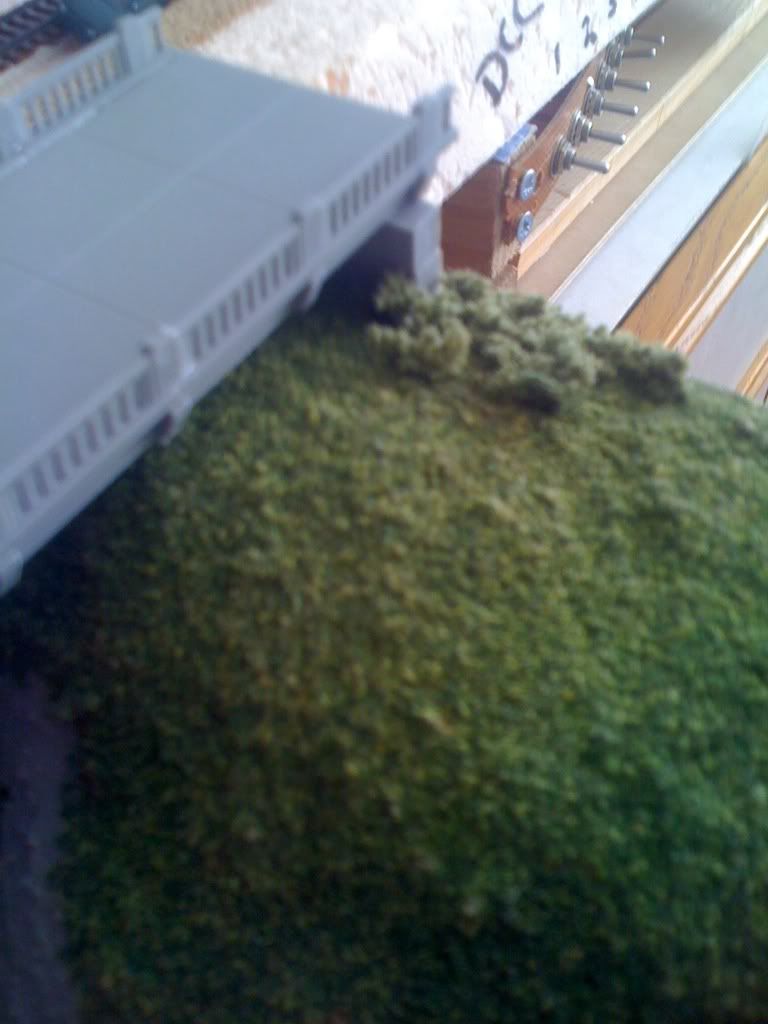
Inside (of the loop) end pier

Other end pier.
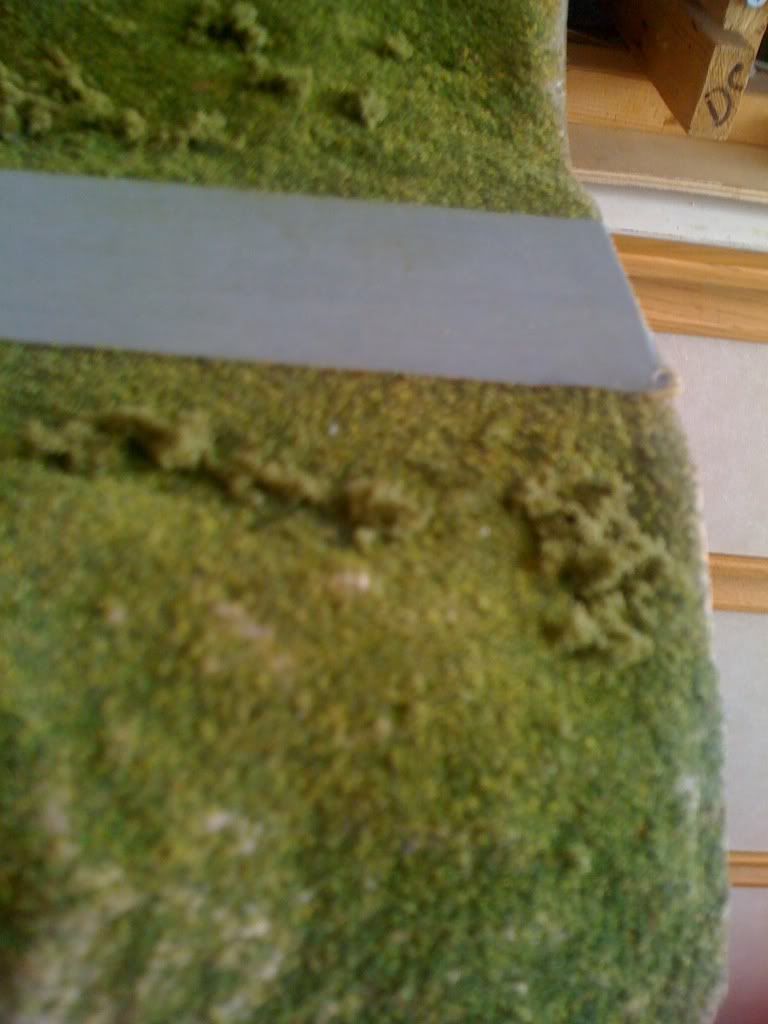
Along the road. I plan to add some very fine gravel-looking material for the shoulders, and if I can find a paint pen(or two), add the road markings. Now that the dark and gloom is coming it may be time to start some trees. That could give me an area "practically" finished!
It was also a great time to touch up, and repair some minor nicks and scrapes in the old. I also learned that alcohol on a Q-tip is the perfect tool for removing stray paint form the ends of ties! I had a few spots where I hadn't realized I did this, as well as some new ones, and the Q-tip did the job just fine. Toothbrushes and such can do more harm than good.
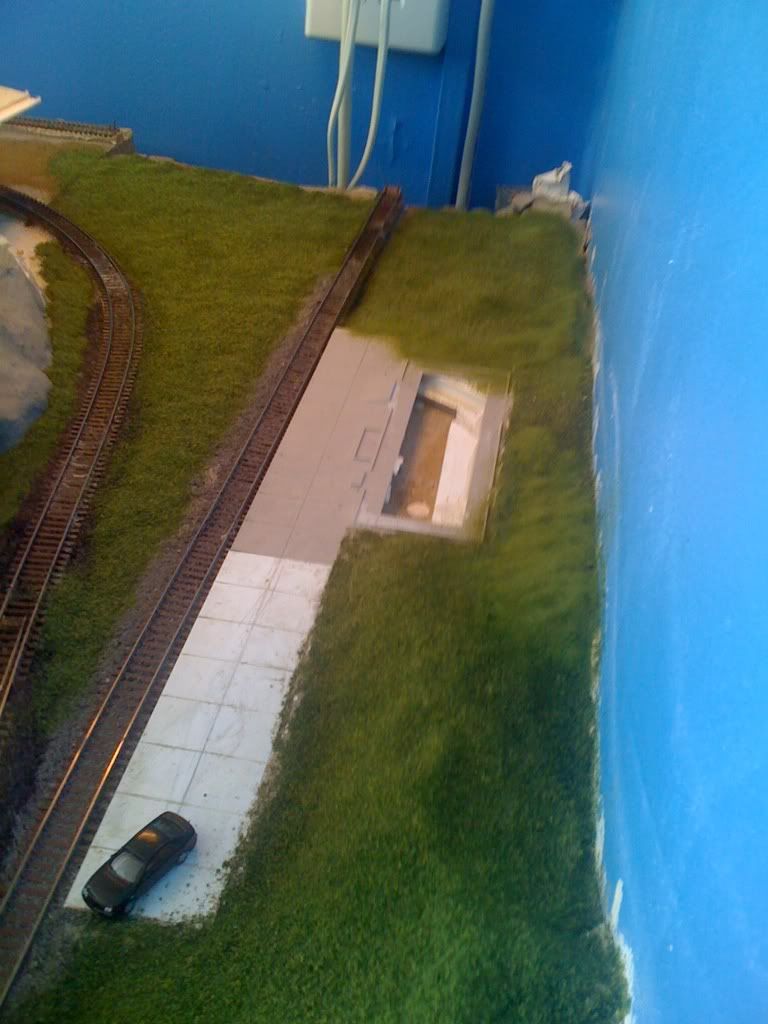
And I didn't want to let the station area feel abandoned, so I applied the ground base (paint, earth mix foam, and coarse turf), in preparation for the rest of the scenic details:
Subscribe to:
Posts (Atom)