And they have to start somewhere. In this case, it's the
framework:
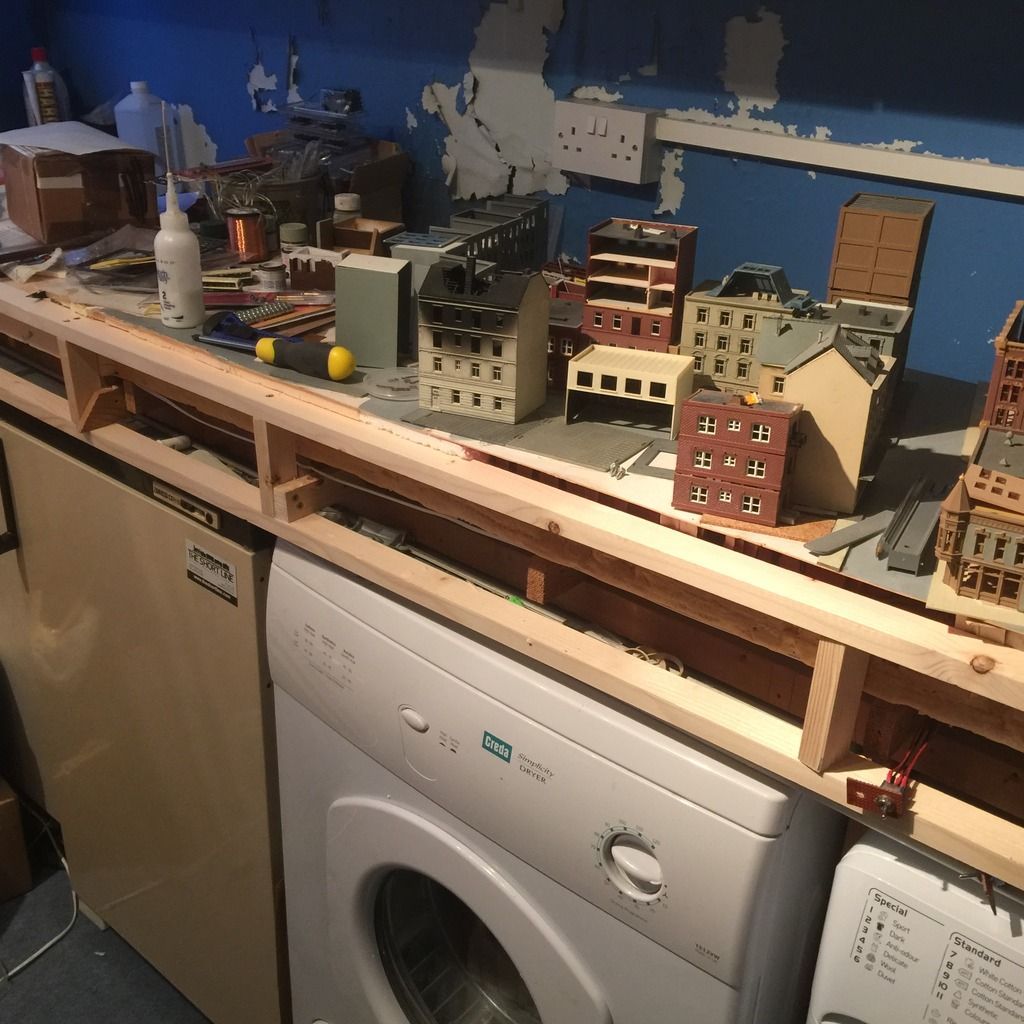
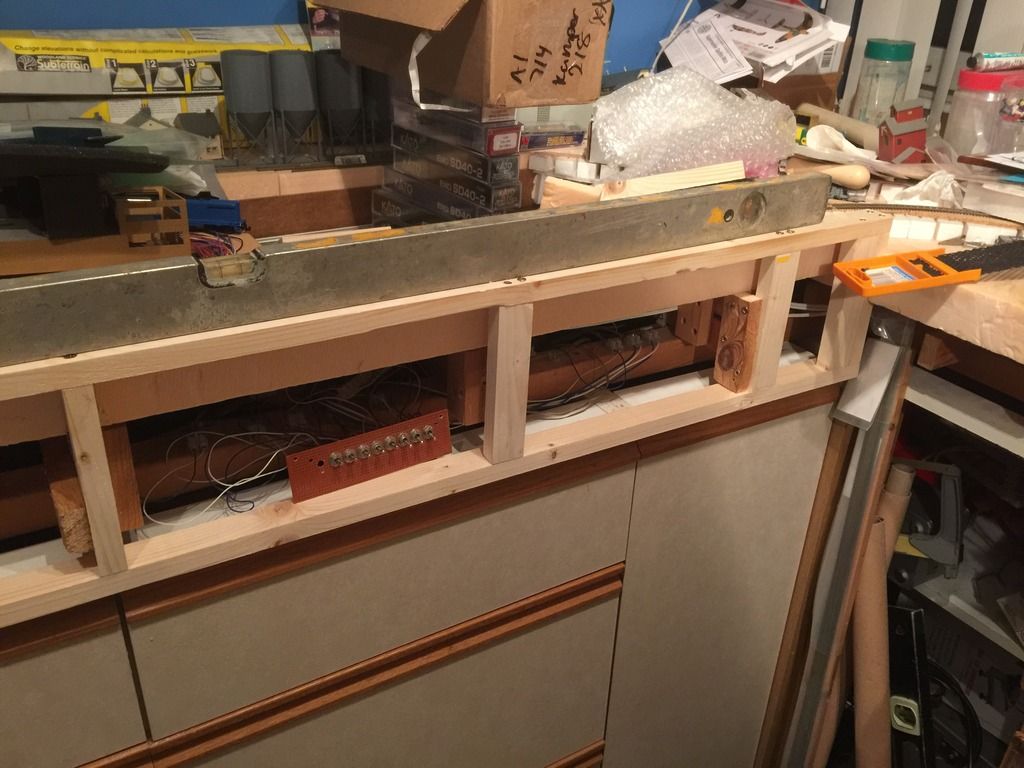
First section of control panel frame in place
This will give me a great mounting for the control panel and
ad about an inch or so of city space on the front of the layout.
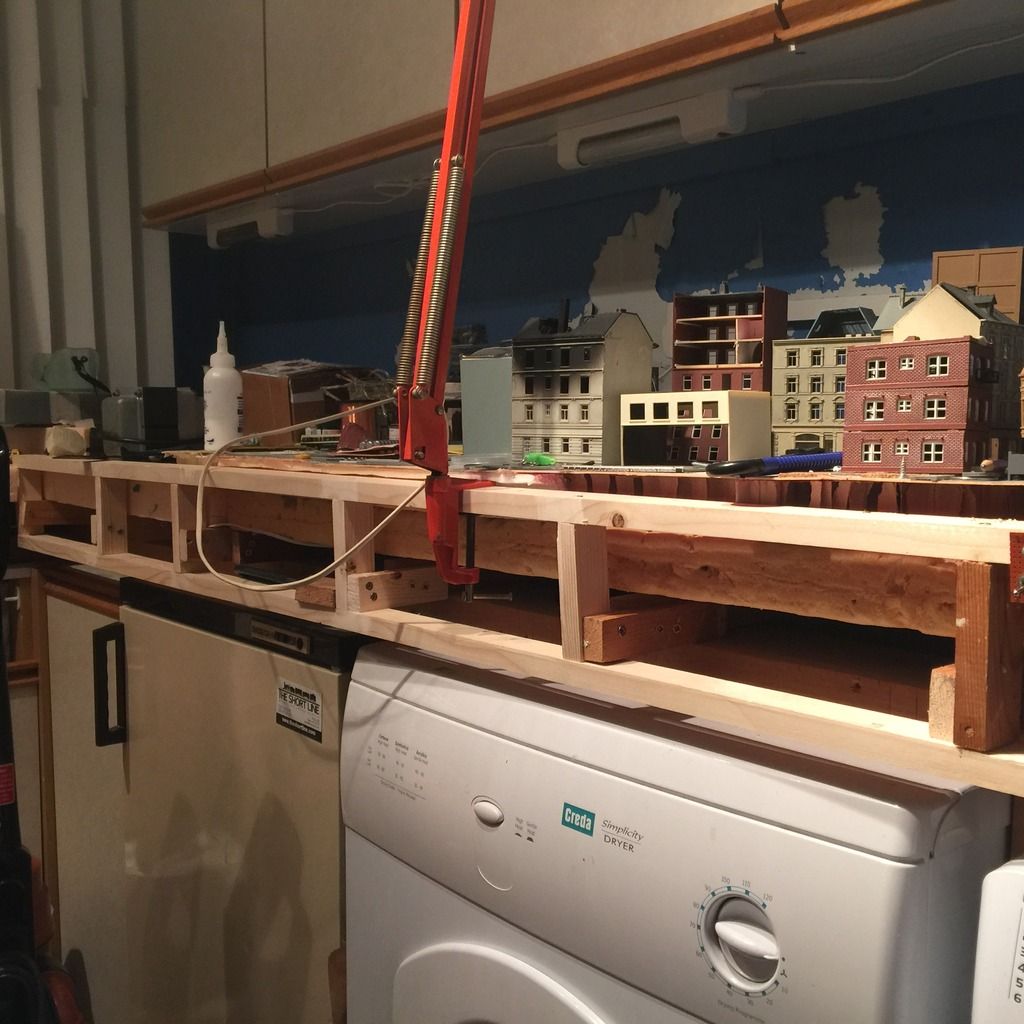
Lower-level view of the frame
The framework is in place and mounted, showing most of the
length of the frame.

Joining to the layout
This will be the trickiest transition to finally get right,
as I have been scenicking this area already...
The other side
The other side of the control panel frames are up; now to
the third side and panels themselves...
The left-hand end
to the left of this section will be the lift out, with the
bridge.
The right-hand end
I've been using the switch controls for most of the time the
layout has been built, and they will finally get a proper panel! I took
advantage of the New Year's holiday and decided to work on the control panel
fascias and clear up the layout room.
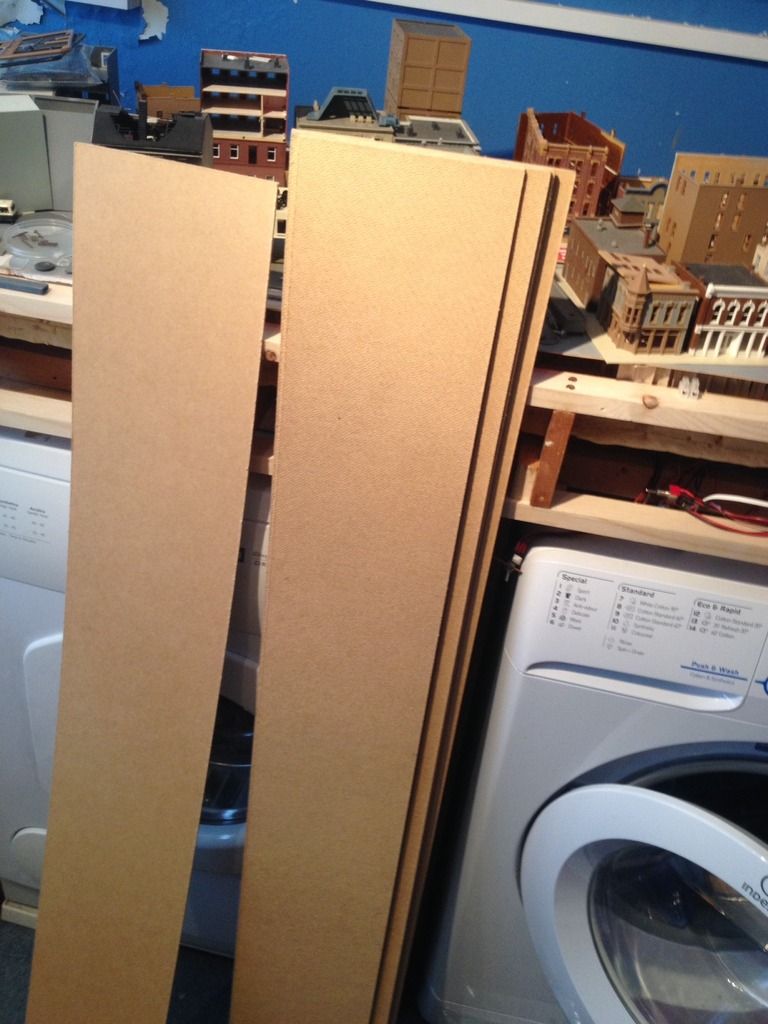
The local lumber store cut the strips into six and half and
seven and a half inch strips.
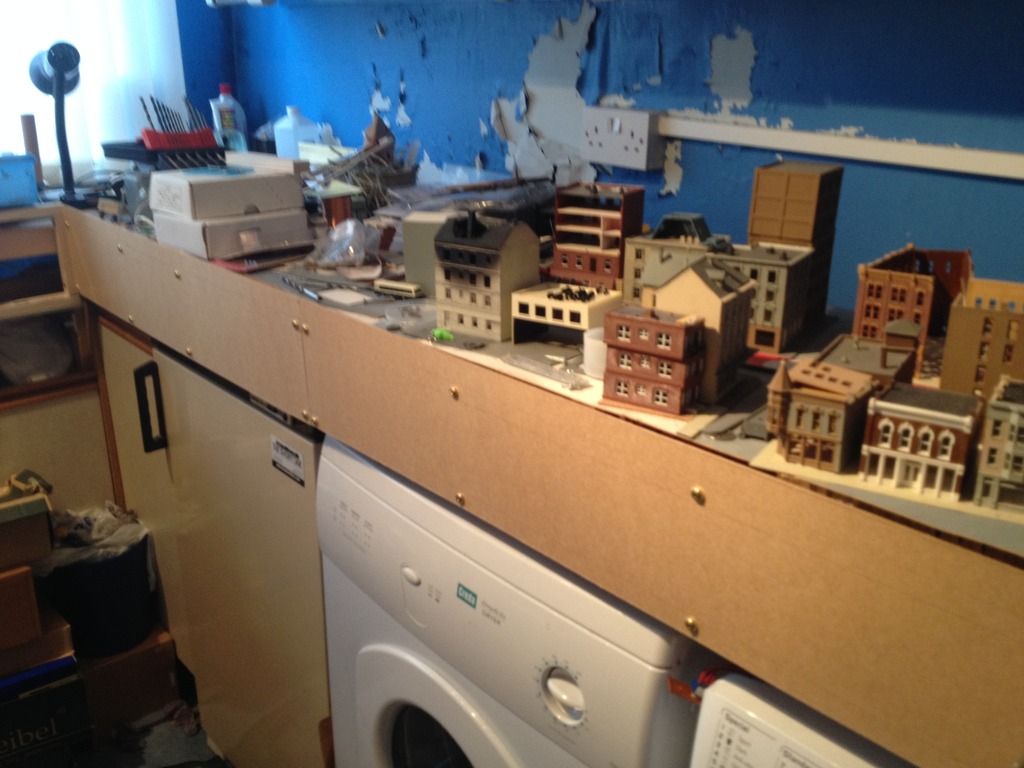
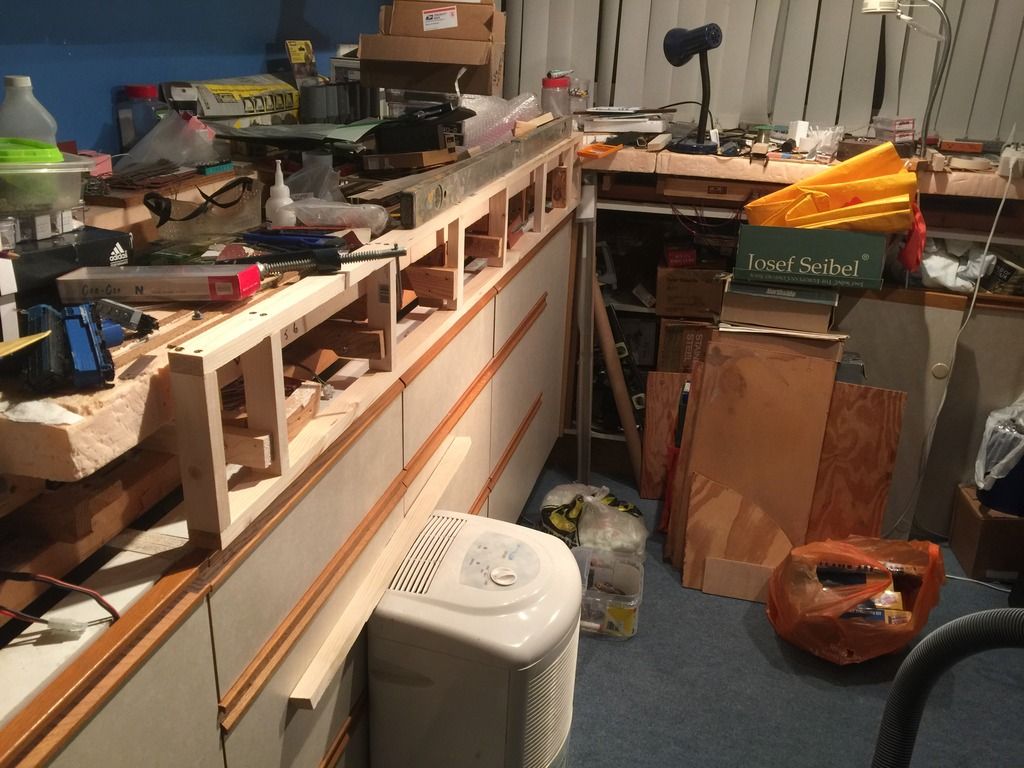
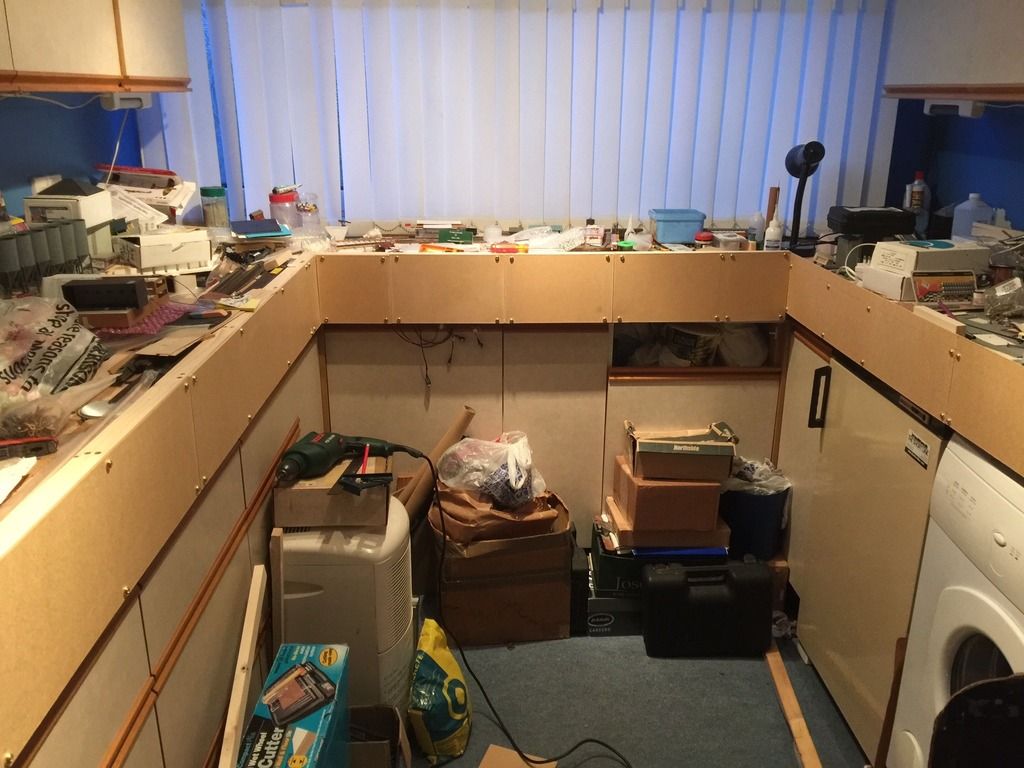
This side of the layout has a narrower fascia on account of
the washer and dryer height. I will eventually build the city street out to the
fascia, giving me about an extra inch of depth, and cut the top edge down in
most places to match the road height.
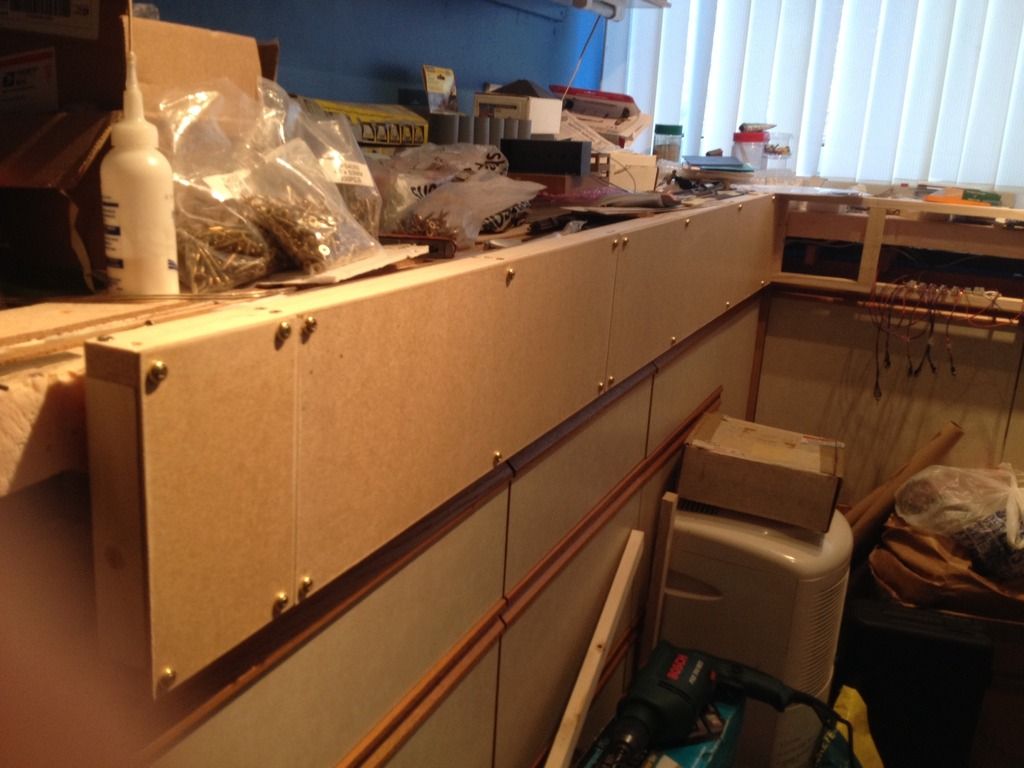
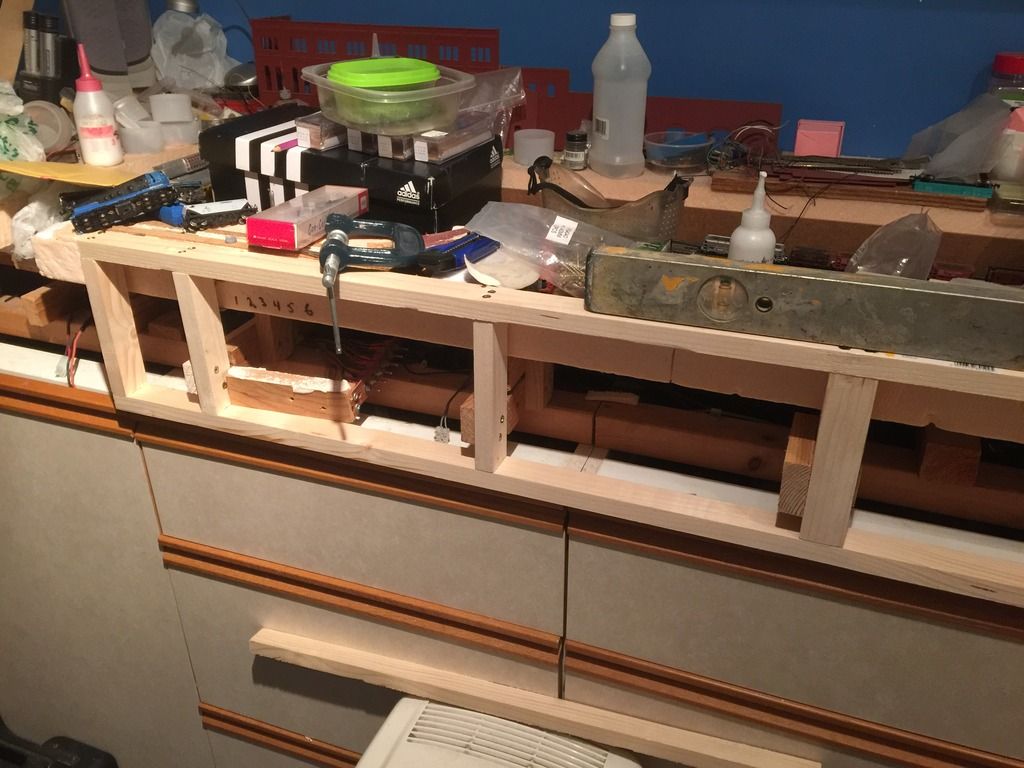
Industrial Park Side of the Layout
The fascia is wider on this and the center section to allow
for the increased number of tracks needing to be controlled.
Center Section overall view
The Center section will control the interchange yard and
most of the turnouts for the industrial trackage. I have not decided whether to
control the interchange yard and industrial tracks from different panels, or to
spread the controls across the width of the panel.
From here it's on to the track diagrams, switch installation
preparation, painting, and switch wiring.